|
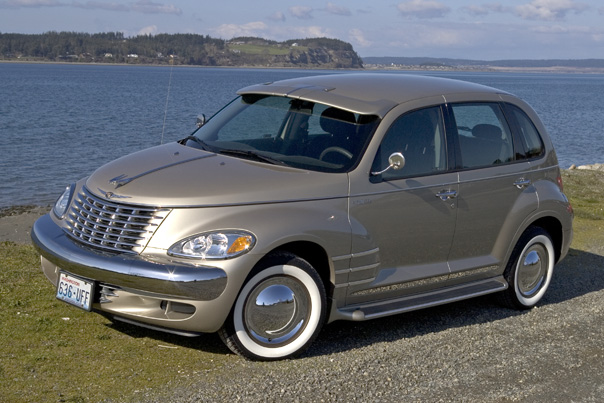
This is my PT Cruiser that we purchased to use as a commute car back and forth to work and local jaunts. When we got it in the fall of 2005 we never dreamed that we'd customize it to look more retro than it was. When we started looking around the web for PT Cruisers and saw all the modification things that could be added to them we went nuts. There are quite a number of web sites dedicated to supplying parts and discussions about PT Cruisers. We've listed some of them at the bottom of this web page. One of our favorite suppliers is www.cruisermotorsports.com. Mitch is the guy that makes it all happens and is very knowledgeable about PT Cruisers. He has supplied most of what we've added to this car and has not steered us wrong yet. We plan to continually update this web page to discuss changes to our Cruiser including what worked and what didn't. If you've had experiences that you'd like us to share about your Cruiser just drop me a line at kennyb@runnerduck.com.
In The Beginning Top of Page Stereo
Being a musician one of the first thing I added was a Pioneer DEH-P4700MP deck with a CD player that I got from Crutchfield at www.crutchfield.com. The package that comes from Crutchfield is very complete and has really great installation instructions. Door LocksI also ordered remote electric door locks for the front doors from Crutchfield. I had a couple of questions during installation and they were very thorough with their responses. It made the project a lot easier. Click HERE to seem my door lock installation.
Next I moved on to the outside. My plan was to make my Cruiser to look as retro as possible. While there are lots of cool add on's to give the cars a custom look I really wanted a "1949 PT Cruiser". All the chrome parts came from Cruiser Motor Sports in California. 1940's Chrome Fender KitFirst I just had to add the 1940's Chrome Fender Kit.

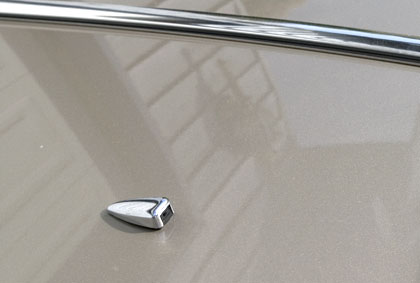
The chrome bars that wrap behind the front fenders are very similar to a 1949 Chevy. Here's a helpful tip on installing these strips.(CLICK) Goddess of SpeedTo add a truly 40's look the car needed a hood ornament. The Goddess of Speed was just the ticket.
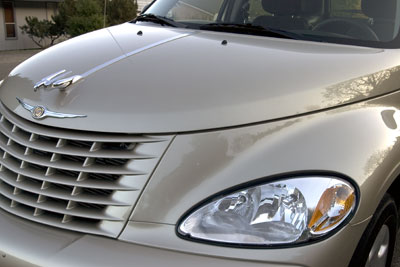
Cruiser Motor Sports sells the Goddess of Speed hood ornament which includes the chrome strip that runs the length of the hood. To see how I installed mine and the improvement I made click HERE. SpearsProbably the least noticed piece of chrome I've added is the "spears". They are flat chrome pieces that fit in the indents at the bottom of the doors. Being that the pieces are dead flat they look like mirrors and don't stand out like they would if there were a radius to them. These were from Cruiser Motor Sports also.

They were very simple to put on since they go into an existing indent. Clean the area, peel the tape and stick them down. Beltline KitNext I installed the "Beltline" chrome strip that goes all around the middle of the body.

It is a nice touch that adds a bit of length appearance to the car. Many cars of the late 40's had a beltline similar to this.
Click HERE to see how to install a beltline kit. License Plate MountOne thing I really didn't like was the front license plate sort of scabbed onto the center of the front bumper!

Again I found just what I needed at Mitch's shop, a license plate bracket complete with screws and bumper plugs. Chrome GrillThe old cars always had a nice big chrome grill and my PT was going to be no exception.

The chrome grill is a couple of plastic snap in pieces that were really easy to install. They are made by Autotecnica and I ordered them from Mitch. You can order just the upper grill or lower grill but I opted for both. Chrome BumpersThe plastic bumpers just had to go. How retro are "plastic bumpers"?
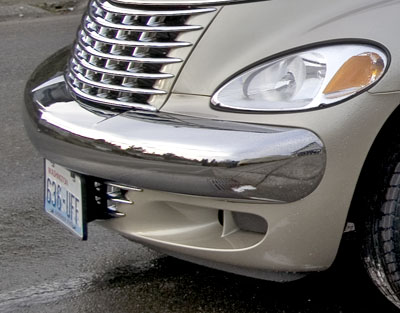 Once again Mitch came to the rescue with a great looking pair of chrome bumpers. They are a heavy gage steel and nicely chromed. Installation is a piece of cake and they fit perfectly.
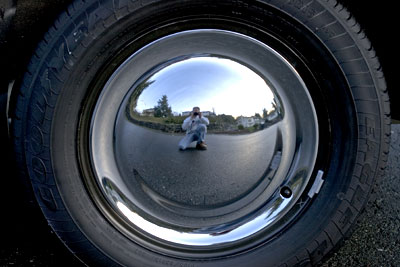
To install them you just clean the existing bumpers really good, add some silicone adhesive and press the bumpers into place. To add some security you install a few screws and you are done. The rear bumper does require you to remove the tail lights but again no big deal. Full Moon Hubcaps and TiresNothing looks worse on a nice car than funky tires and hubcaps. Adding whitewalls and full moon hubcaps really brought things together.
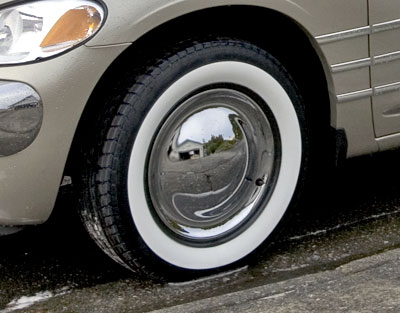
I looked high and low for some hubcaps that I liked. I finally stumbled onto Speedway Motors, www.speedwaymotors.com, who had the perfect answer. Their 15" Full Moon Hubcaps look great and so far are staying on really good.
 Once again I called upon Mitch to find me some 2 1/2" white wall radials. He went to a company that actually makes the tires to order. They showed up on my door step in about three weeks and I had them installed.
You may have to shop around for a tire shop to install your new tires. I went to Les Schwab Tires and they said that they would not install tires that were not purchased at their store. I ended up at Tires Plus and they did a great job. Performance Time
One of the things I don't like about my PT Cruiser is the mileage. I'm getting around 18 to 19 miles per gallon driving around town. Of course we have nothing but hills here in Western Washington but I get 22 MPG in my Sienna Mini Van. Along with better mileage I also wanted a little better performance. I'm not a fast driver or do jack rabbit starts but it's still nice to have a little extra boost when you need it.
 At the same time I decided to install a Helix Power Tower on the base of the throttle body. This is supposed to provide a significant boost in horse power and it did!
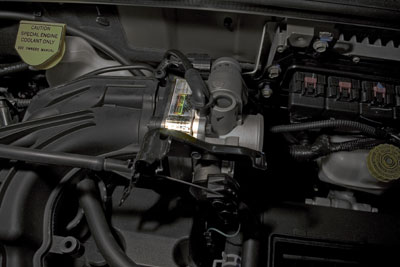
While I don't have any way of measuring the power increase I'm happy to say that I noticed an significant difference! To see how to install the air filter and Helix click HERE. Side Mirrors
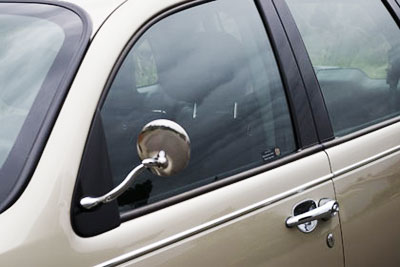 After a long wait my mirrors finally arrived and I think they were worth the wait. To see how I installed the mirrors click HERE. Head Light/Tail Light Rings
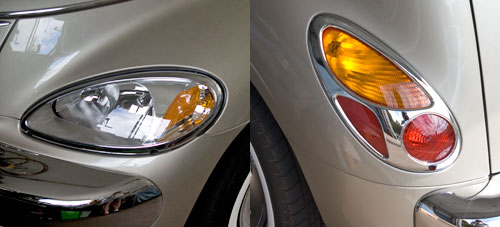
These head light and tail light rings were pretty easy to install. They come backed with 3M automotive adhesive tape. Just clean the surface good with alcohol before you peal and stick them on. The headlight ring was not very dramatic but the tail light rings really dressed them up. Wood Grain Dash
 This was the first addition we made to the interior and wow what a difference. It really brought it to life as you can see in the before picture below.
 BEFORE Top of Page Antenna Bezel

Sometimes it's the little things that make a difference. This chrome antenna bezel replaced a plane black one and made it look a lot nicer. Dual ExhaustSEE UPDATE

I had a heck of a time getting my dual exhaust system. I'm not sure what the problem was but it took about nine weeks to get here. I ordered it from Cruiser Motorsports but it came from BTG Motoring. For some reason BTG just couldn't seem to meet their delivery schedule. Lettering
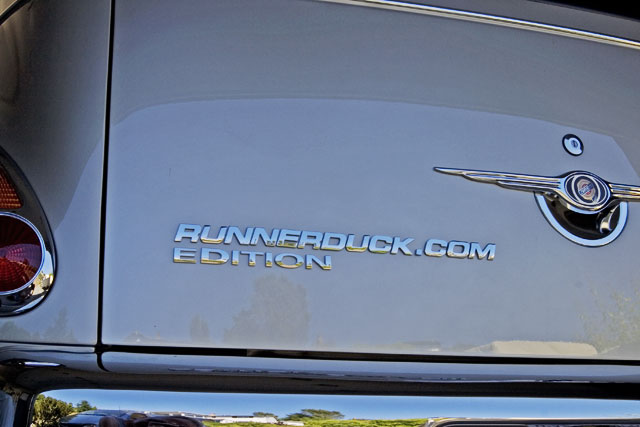
This is kind of fun! Bare bones Cruiser's, like mine, has no badge on the back but many of them have names like "Touring Edition". I felt like mine needed an edition so... Chrome Door Locks
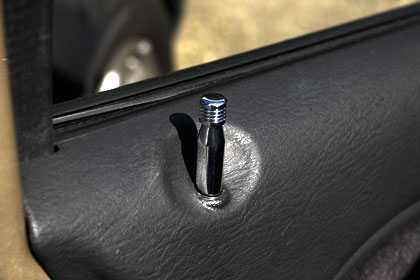
While the big stuff is really eye catching it's the little things that count. I added these chrome door locks that I got from Maggie at Race and Street. Sunvisor

It took me a while to select the sunvisor for my car but I ended up with the E&G Classics from Race and Street. It adds to the retro look I'm going for an I really like it. It took about a day to install it and other than having to drill a bunch of holes in the roof it wasn't bad. Chrome Control Knobs

It was a little hard to photograph these chrome knobs but they look cooler than the photo shows. Chrome Windshield Washers
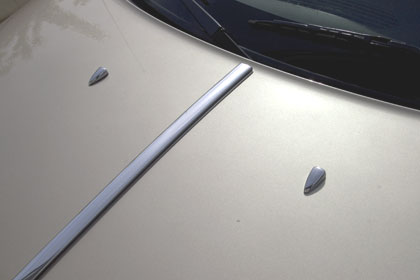
Every little bit helps! These chrome windshield washer covers are a nice touch since they hide the stock black plastic ones.
 If you look at this photo you can see a little gap at the base of them. Not terrible but not perfect either. That's all I've done to date but Stay Tuned!
|
PT Cruiser Links
Parts and Accessories
PT Cruiser Clubs and Info. |
|
The AllAmerican RunnerDuck Review Visit our Blog, www.runnerduckreview.wordpress.com, and sign up to receive notifications when it is updated. Our newsletter is a monthly blog with woodworking projects, crafts, recipes, and more. When you get to our blog just enter your email address and click "Sign Me Up". This is what it looks like:

|