

|
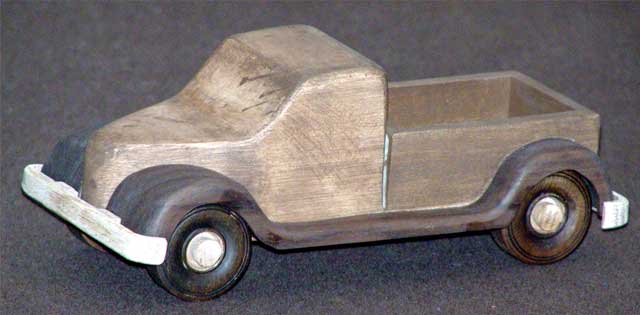
I know it seems a little late for toys but just because Christmas is over doesn't mean that there aren't some little kids out there with birthdays. This would make a great gift for that special child that likes real toys, if you know what I mean. Nothing nicer than a hand made toy.
Here is the pattern for this project, PATTERN The pattern is color coded to make it a little easier to see what's going on. The pattern for the running boards and fenders are for reference. You'll use the pickup body to actually make the outline for these.
Cut the bottom for the body 2 1/2" X 7 3/4" X 1/4".  Trace the pattern for the side of the truck onto the glued pieces and cut them out with a band saw. 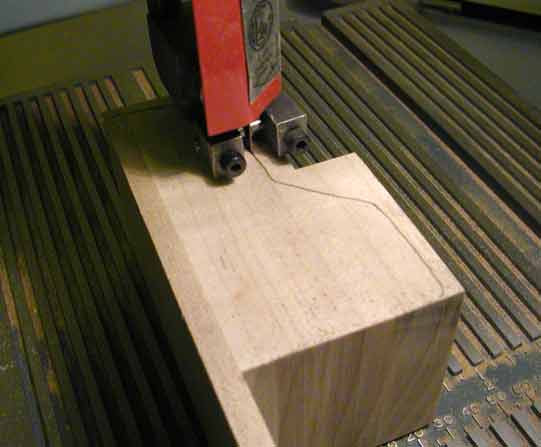 This next step is a little more difficult but trace the top of the truck onto the wood. I used a square to align the front of the pattern with the front of the body since it tapers back a little. 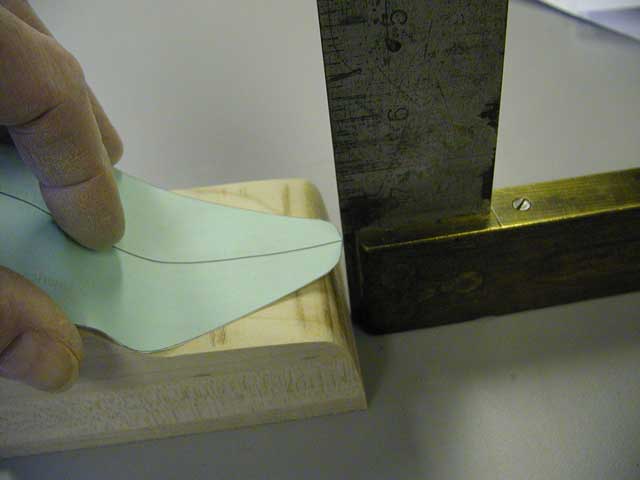 Cut out both sides of the body and sand all the edges round. Glue and clamp the box onto the truck body. 
Glue two 3/4" pieces of Walnut 1 1/2" wide and 8" long together. Make up two of these for the fenders/running boards.  Using a 1 5/8" Forstner bit countersink pockets for the wheels. Using the fenders as a guide draw a line inside the fenders to show you where the countersink needs to go. Make them approximately 1/8" deep.  Align the fenders onto the body and mark the centers of the wheels. Allow room for them to turn. Drill 1/4" holes for the axels to go into. If you don't have axels for your wheels here is a simple way to make them. Drill a 1/4" hole 3/4 way through a 3/8" hole plug. Cut a 1/4" dowel 1" long and glue it into the plug. 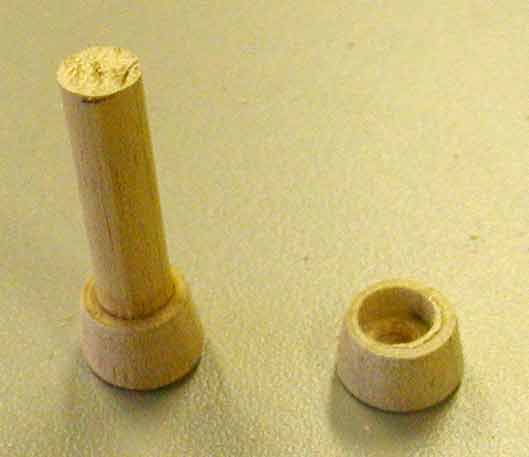 Glue the wheels onto the truck making sure that they turn freely. Now is a good time to stain your project if you like. Glue the fenders/running boards onto the truck. Clamp them good and make sure again that the wheels turn freely.  While they are drying make the bumpers out of 1/2" Oak. Cut two strips 2/8" X 4". Trace the bumper pattern onto the pieces and cut them out using a scroll saw. Round the edges with an 1/8" router bit. 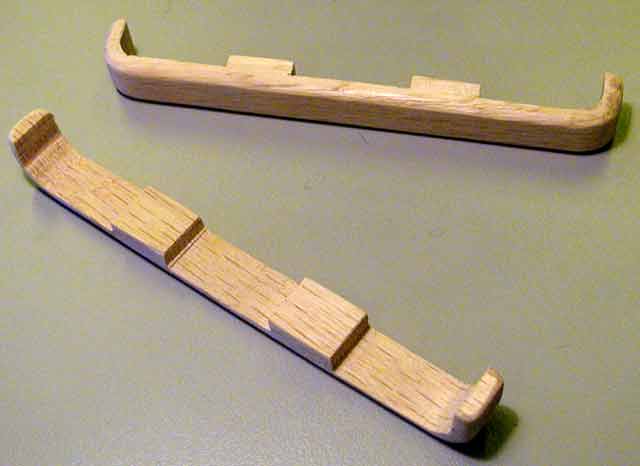 Glue the bumpers on and you are done except for any finish you want to put on. I used rubber bands to hold the bumpers on while they dried because I didn't have any clamps that big. One word of caution if you are giving this to a young child as a gift. The wheels and or axels could come off making a possible choking hazard. I would suggest using good judgment in giving this gift. |
 Here's what you'll need:
|
The AllAmerican RunnerDuck Review Visit our Blog, www.runnerduckreview.wordpress.com, and sign up to receive notifications when it is updated. Our newsletter is a monthly blog with woodworking projects, crafts, recipes, and more. When you get to our blog just enter your email address and click "Sign Me Up". This is what it looks like:

|