

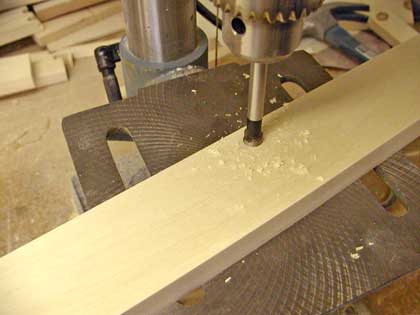
FINAL ASSEMBLYCut two notches in the front of the bottom the same as the drawer dividers. Dado a 3/8" wide by 3/16" deep notch down the inside back of each side. This will provide relief for the back. Using a 3/8" Forstner bit drill holes 3/8" deep and 3/8" in from the front edge of each front piece. Place one at the top, one inline with each drawer divider and one at the bottom.
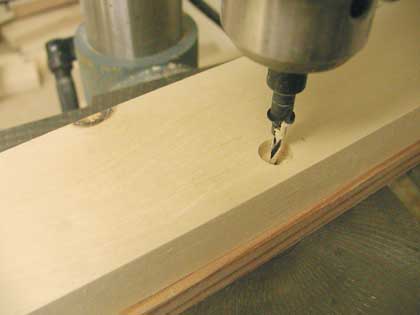
 Drill and countersink holes for #6 screws in each hole.
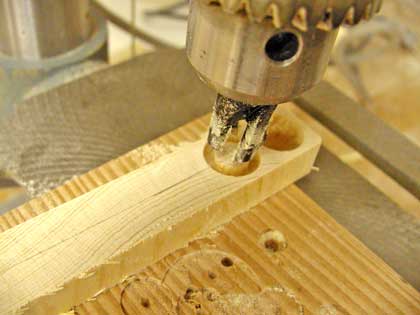
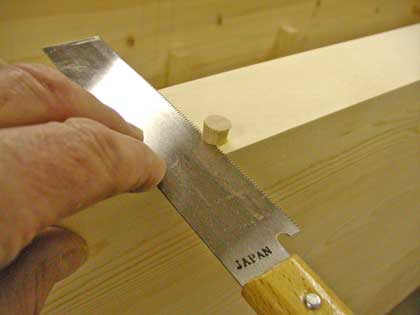
Either purchase 3/8" plugs or make your own using this handy tapered plug maker.
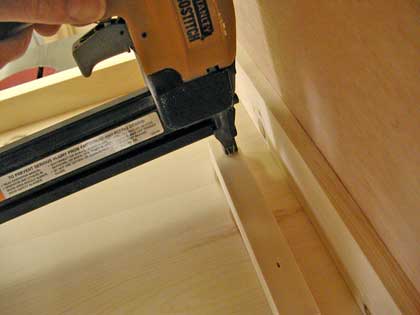
Align the front pieces with the sides and glue and screw into place.
Repeat this step for each spacer.

Place the spacers into the cabinet and glue the spacers to the sides, front and the supports. Clamp and let everything set good.
 Sand everything smooth and apply the finish. I used an environmentally friendly, water based stain and polyacrylic finish. It was the first time I used it and it turned out great. I especially liked the water clean up!
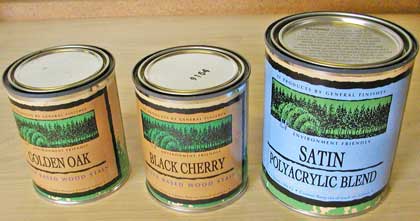
I first applied two coats of Golden Oak stain within 30 minutes of each other. After 24 hours I applied a heavy coat of Black Cherry and made sure I stroked it in the direction of the grain. That's it! Now fill it up with DVD's and enjoy a movie.
|


|
For Email Marketing you can trust
|
|
NOTE: Entering your email address does nothing more than add you to the list for our newsletter and future updates. When you click on GO you will be taken to a screen where you complete your registration. Thank You |