

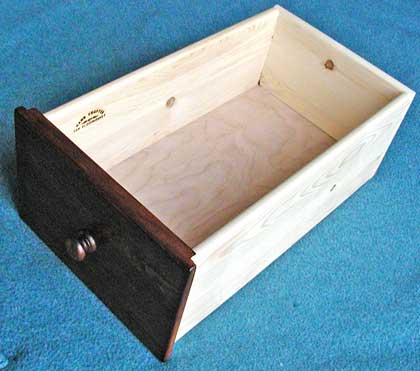
DRAWER ASSEMBLY
 NOTE: I discovered after I had completed this project that some of the newer cardboard DVD's are wider than the plastic ones. Because of this the drawers will not close with them standing on edge. Boy I hate it when that happens! The dimensions below are for the plastic ones. If you want it to fit everything I'd suggest measuring every DVD case you can get your hands on and adjust the dimensions appropriately.
For my drawer joints I used blind dove tails on the front and through dove tails on the back. You could use housed rabbit joints but I wanted to use my new Rockler Dovetail Jig.
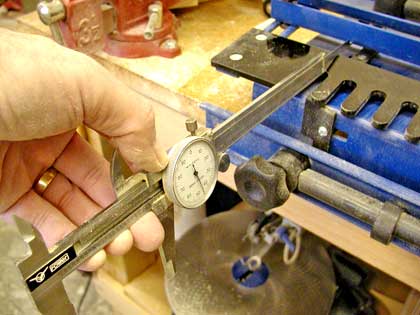
Here's a little tip for setting it up. I used a pair of dial calipers to exactly set the fence, it worked great.
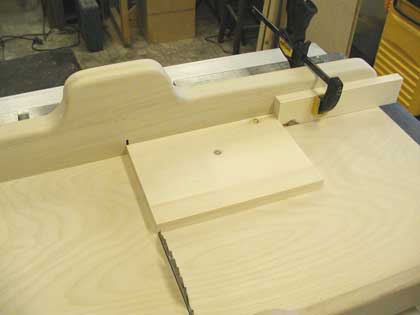
 Using the table saw sled you made from our plans, www.runnerduck.com/tablesaw_sled.htm, cut the drawer fronts 3/4" X 9 1/2" X 6 7/16".
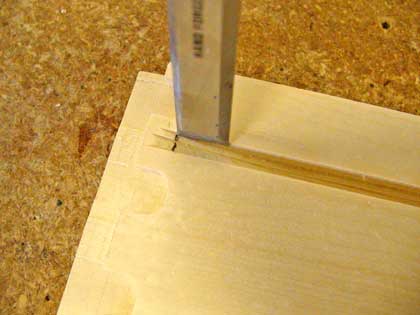
Dado 3/8" off each side 3/8" deep.
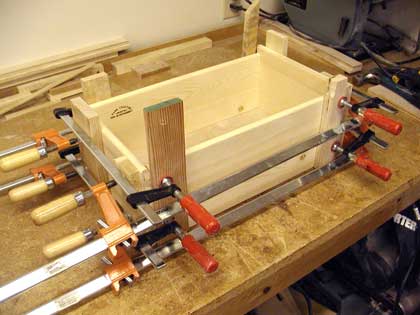
Using the joinery of your choice, set the front, back and sides to join.
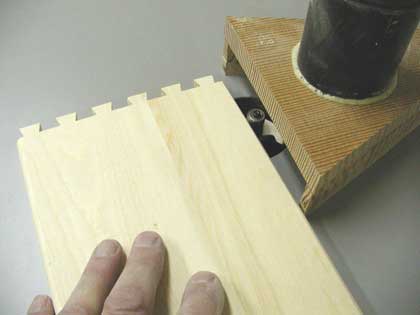 Notice the vacuum attachment for the router. We made it from the instructions in our September 24, 2004 newsletter.
Sand everything to a finished smooth.
Cut the guide rail 3/4" X 1 1/2" X 15 1/2". Dado a 13/16" groove 1/2" deep the full length of the rail.
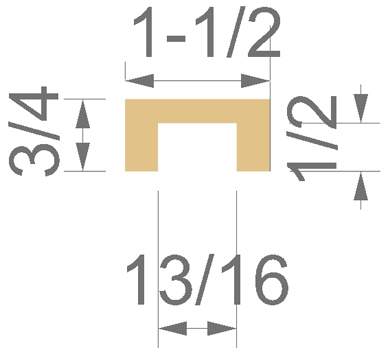 End View
 Side View Glue the rail to the bottom of the drawer. Be sure that it is perfectly parallel to the sides.
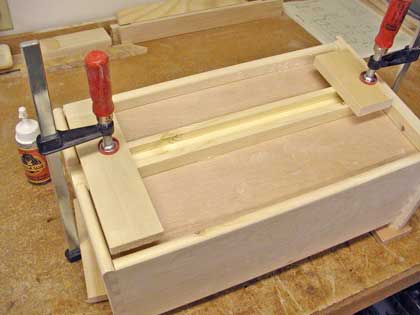 Drill the hole for you knob and you are done with the drawer except for the finish.
Click Here <--- Previous Page
|

|
For Email Marketing you can trust
|
|
NOTE: Entering your email address does nothing more than add you to the list for our newsletter and future updates. When you click on GO you will be taken to a screen where you complete your registration. Thank You |