


| Now that we have our fancy river and everything we need a way to get to the other side. You know it's the chicken thing :-) We agonized long and hard over what type of bridge to build. Ken wanted a fancy one with hand rails and Marilyn wanted something simpler that wouldn't distract from all our other hard work. Well Marilyn won out and she was right. For our small yard the simpler bridge was the best. The bridge is a peeler pole bridge like you might see on a mountain trail. We found a place that supplies fence posts and other fencing material. They had peeler poles of all sizes and lengths. We wanted four poles around three inches in diameter which sounds easier than it really is. After digging through several piles we found just the right ones. Our bridge is eight feet long and four feet wide. First we put a concrete pad footing in all four corners. This gave us a solid base and helps keep the poles from rotting. We laid two of the poles between the pads across the river. We then took four foot 2" X 6"s and screwed them into the poles using 2 1/2" deck screws. After all the planks were screwed into place we put the two remaining poles on top. We counter sunk 6" X 1/4" lag bolts into each end and bolted the planks together. The bridge is very sturdy and has very little bounce. 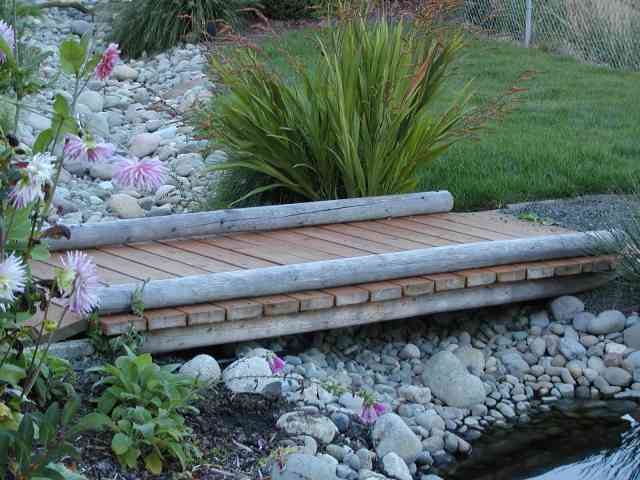 One of the things we did to preserve the rustic look while protecting the logs was to put ground protectant on the top of the bottom log and the bottom of the top log. We also protected the ends of the bottom logs where they rest on the concrete blocks. Once you have the materials this is a really simple project that you can do in a day. |