


|
This week Step 10 - Installation:
All that's left to do is install the wheel, build a little sluice, turn on the water, sit back and enjoy. 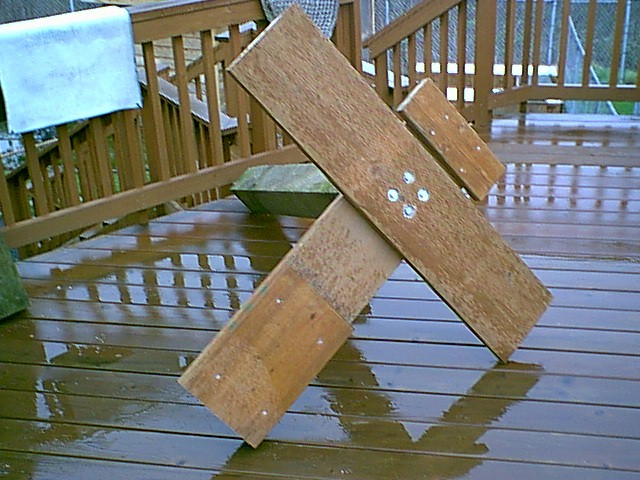 I used four really long lag bolts and washers to mount the timber to the base. I added a piece of 2X4 and 2X12 to each end of the base to make it level. 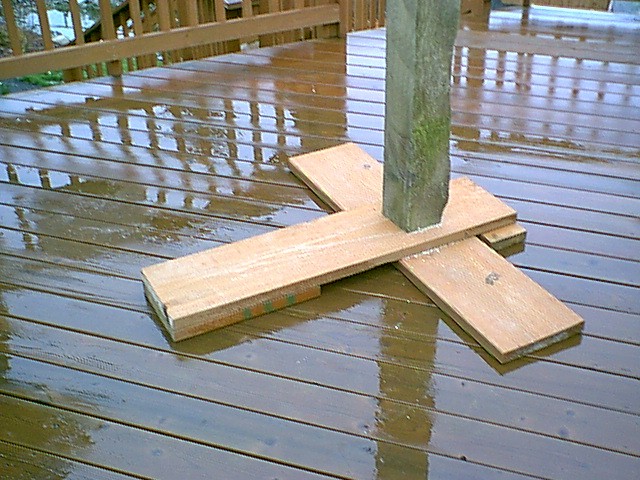 Next I put the base into my pond and made it plumb using rocks and sand. 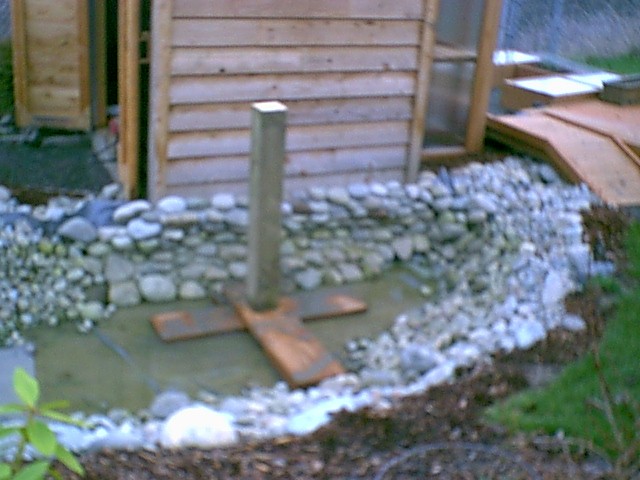 Next I took the steel shaft mounted one end into a Pillow Bearing, sat it on the support, squared it up and with a level marked the hole location on my shed. I drilled a hole through the shed and mounted a 4X4 between the studs on the inside. Remember to use the pillow bearing on the inside to set the height of the 4X4. 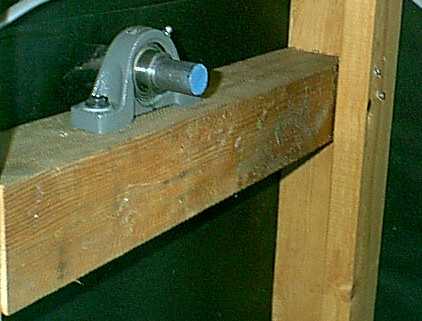 I marked the shaft while I had it in place so I would know where to weld the wheel. I put the shaft through the wheel hub and welded it in place. Next I built a little ramp to help move the wheel into place and just rolled it up. Put the shaft through the wall and mounted a Pillow Bearing on each end. 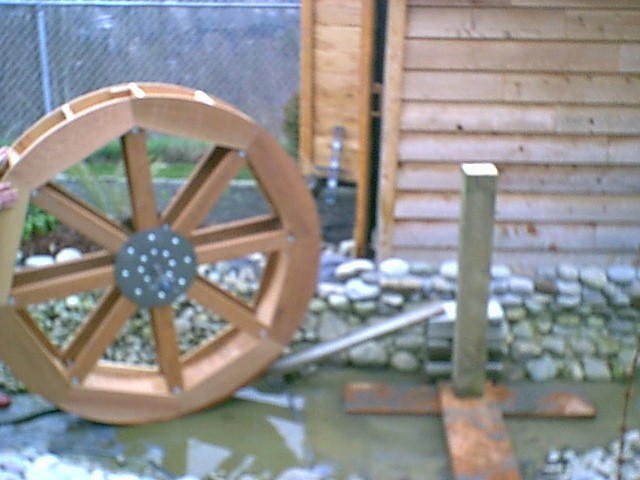 I ran lag bolts through both Pillow Bearings and that was that. Next I built a sluice which was nothing more than a cedar 1X10 with 3" sides. I used silicone sealer to help hold the sides on and keep them from leaking. I made a couple of simple brackets to mount it to the shed. To power the waterwheel I installed a small water pump in the pond. I mounted a "T" on the pump with a hose out the top and a gate valve off the side. I use the gate valve to control the water flow. I bonded the hose into a hole in the side of the sluice and turned it on. I've discovered that it really doesn't take much water to turn the wheel around. I have it throttled way down and rotates about right. Here is a finished picture of it in this weeks snow. 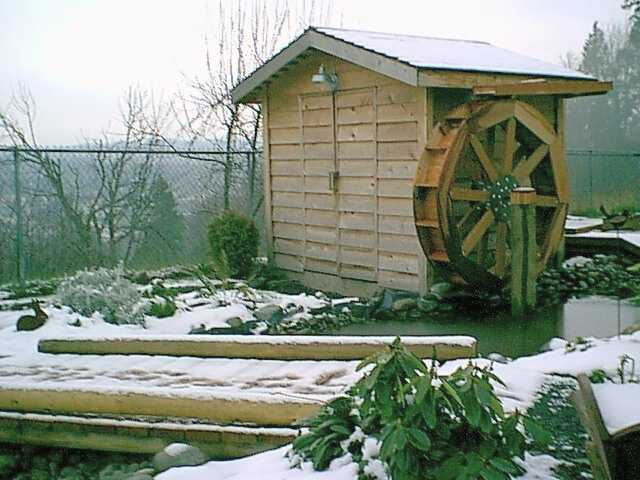 If by any chance you have tried to make your own waterwheel I would love to hear from you and see some pictures. If you are working on one and run into trouble or have questions just drop me a line and I'll try to help.
|
|
The AllAmerican RunnerDuck Review Visit our Blog, www.runnerduckreview.wordpress.com, and sign up to receive notifications when it is updated. Our newsletter is a monthly blog with woodworking projects, crafts, recipes, and more. When you get to our blog just enter your email address and click "Sign Me Up". This is what it looks like:

|