

Marilyn bought me a wonderful Taunton book on treasure chests called Treasure Chests by Lon Schleining.  (CLICK) I guess it inspired me to try and tackle my own treasure chest. I've had a large chest for many years that was patented September 3, 1887. I think it was build shortly after that. It's in pretty bad shape but still functions as blanket storage. I really wonder what tales it must have to tell.
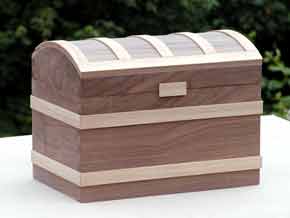
 The design of my chest uses the lines of the old chest. Mine is only 12" X 7" X 8 1/2". I used a vacuum form mold to make the curved top and dove tails for the joinery. I hope you take the time to make this nice little chest and also check out the Treasure Chest book, you'll love them both. Here's a list of materials you'll need to buy.
8" X 1/2" X 60" Maple.
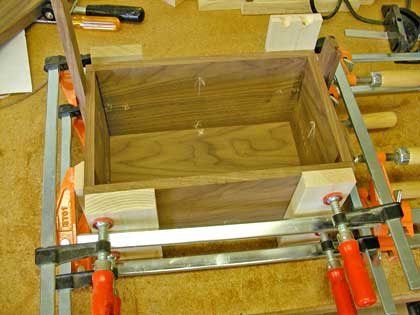
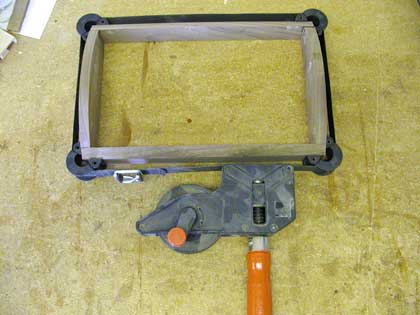
I started out by making two rectangular boxes, one for the bottom and one for the top. The bottom is 12" Wide X 7" Deep X 6" High. The top is 12" Wide X 7" Deep X 2 1/2". Dove tail the corners for the top a bottom. I used my handy Rockler Dove Tail jig.
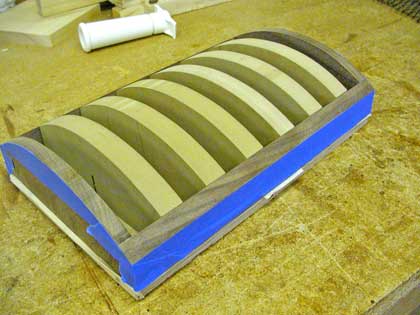
I made six molds for the top from 3/4" MDF. They are 2 1/2" high and 6" wide. I cut and shaped a 6" radius on top of one of them. I traced that shape onto the other five molds and cut just shy of the mark using my band saw.
Cut a 1" slot in the bottom center of each mold piece to help the vacuum penetrate everywhere during the forming process. 
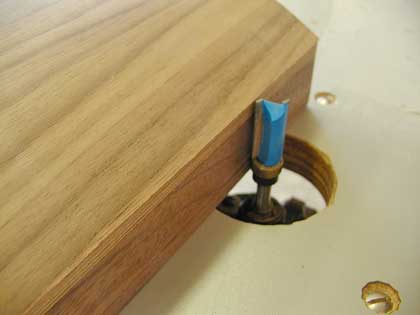
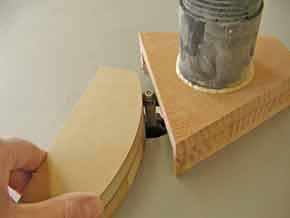
Then I double back taped the end pieces to the mold and routed them flush. 
Put the ends onto the front and back and mark the extension of the curve onto the front and back pieces.

On the table saw cut the marked angle of the front and back.
Cut a piece of scrap plywood slightly bigger than the top. Center the top on the plywood and mark the inside edges of the top onto the plywood. 
Cut six pieces of veneer 6" X 12".
Now it's time to work fast. If you use a slow drying glue it's better than regular yellow shop glue. Evenly spread the glue onto a piece of veneer and place another piece on top. Repeat this until you have all six pieces stacked up.
Remove the top from the vacuum bag and clean up any excess glue and tape. I used my band saw to cut the excess material close to the edge of the top. Using a top bearing router bit, flush up the ends of the top. 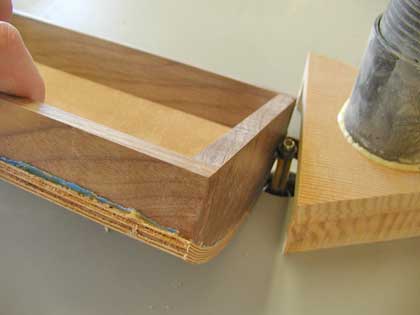 Using a bottom bearing router bit, flush up the front and back of the top.
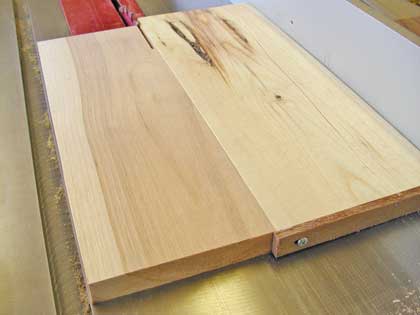
 Sand and smooth everything and next we will start decorating our treasure chest. Cut 1/8" thick strips from 3/4" Ash. I used a little pusher to make tis task a lot easier. Just screw a small piece of wood onto the end of a 4" wide piece of scrap wood. Let it over hang the edge by about 1/4". Set your table saw fence so that when you use your pusher you have 1/8" gap from the edge to the saw blade.
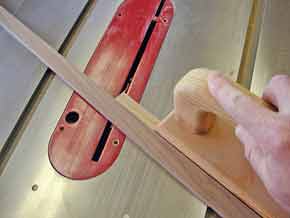
 The slats that run along the front and back of the top need to be radiused along the bottom to fit the curve of the top. To do this set up your table saw with a temporary fence at an angle across your saw right next to the blade. Set the blade to 1/16" high and run the slats across the blade using a flat pusher.
Glue and mount one strip along the front edge. 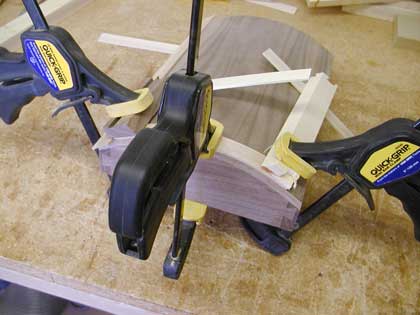
 After you've glued the five slats glue the back edge slat in place.
You may want to use a flush router bit to flush the trim strips to the front and back. That's about it. We hope you liked this project. If you build it and your friends ask where you got such a clever idea, please tell them that you got it at RunnerDuck.com. If you have a project you'd like to share just let me know. I'll do all the work if you'll provide the pictures and dimensions. Send your projects to kennyb at runnerduck.com
|


|
The AllAmerican RunnerDuck Review Visit our Blog, www.runnerduckreview.wordpress.com, and sign up to receive notifications when it is updated. Our newsletter is a monthly blog with woodworking projects, crafts, recipes, and more. When you get to our blog just enter your email address and click "Sign Me Up". This is what it looks like:

|