
For more great plans click on the banner below.
|
|
This started out as a different project until I realized that my existing taper jig would not work. Here's the previous taper jig we made in our April 2004 newsletter; www.runnerduck.com/04-09-04.htm.
 Taper Jig
What I really needed were tapers cut on a 45 degree angle using a tablesaw that tilted the blade left as well as right. Not having such a critter I had to come up with a fixture that would do the job. I designed a universal 45 degree table sled!
 Sundial Stand It's a sundial stand that will hold a sundial in my yard. The sides are tapered and join at 45 degree angles along the edges. To build the taper sled you'll need the following:
Set a 3/4" wide dado blade 3/8" deep using the T-Track as a guide.
 Cut two groves across the plywood centered 8 1/4" in from each side.

Cut a four foot 2" X 4" in half, 24" X 2" X 4".
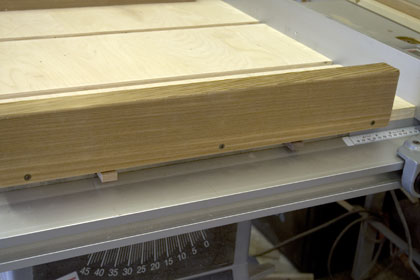
 Drill four countersunk holes spaced evenly along the bottom edge of each handle. I used my Drill Table to line the holes up.
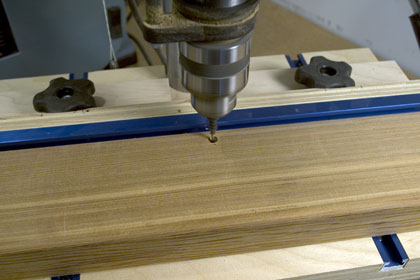
Glue and screw the handles onto each end running the same direction as the T-Tracks.
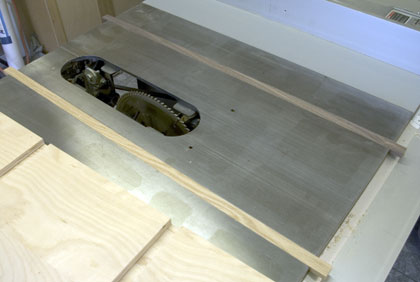
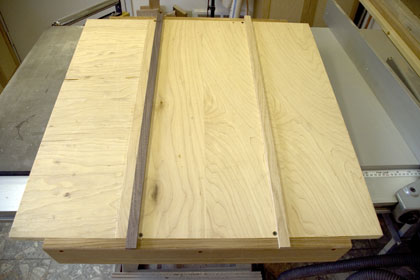
Apply a thin bead of glue along each rail.
Drill countersunk holes in three places in line with the centers of the rails.
 Set your saw blade to a 45 degree angle and high enough to go through about 1 3/4". Place the sled in the tracks and cut through the entire sled. I used my handy dandy Wixey Digital Angle Gage to set my blade angle.
 Digital Angle Gauge
 Cut the T-Track into four foot lengths with a hack saw. File the ends smooth.
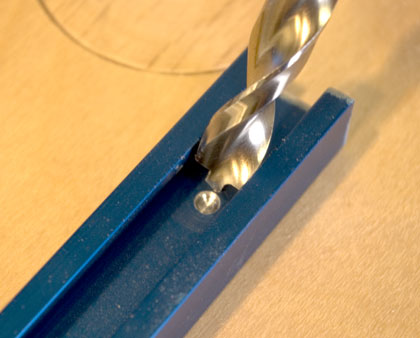
 4' T-Track Kit Add countersunk holes to the T-Track as required. Here's a little hint, use a brad point drill bit that just fits into the track to set the center for the countersunk hole.
 Rockler 25-Piece HSS Brad Point Bit Set
Install the T-Track leaving clearance for the saw blade. I had to grind down some 5/8", #8 screws since I couldn't find any 1/2" ones.
 Toggle Clamps
Cut the clamp bracket board from 3/4" plywood 3" X 24".
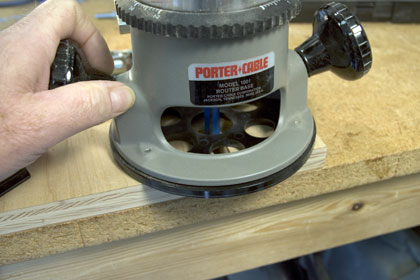
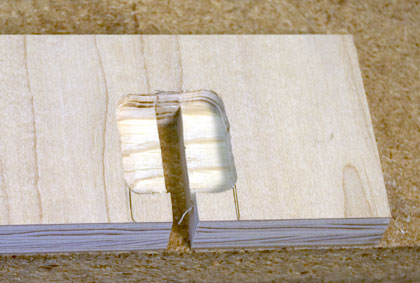
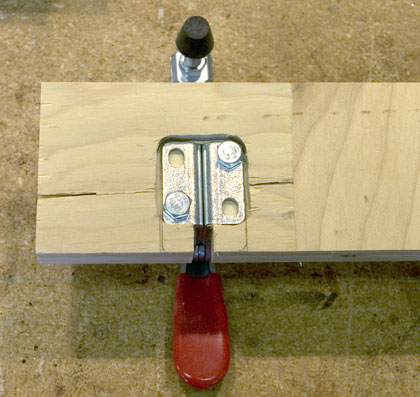
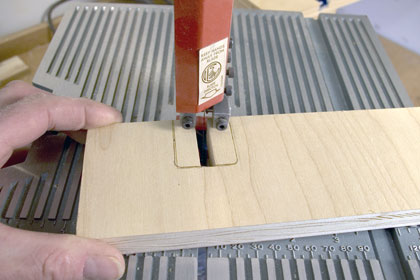 Draw around the clamp base and the route the area so the clamp will fit flush from the bottom.
 Porter Cable 690LR Router
Install the clamp using nuts, bolts and flat washers on top. I just put two bolts into each clamp.
 Using a router cut the slots for the T-bolts to go through. I cut mine on about a 30 degree angle with the center of the slot centered on the T-track. Now that I have it assembled I'm not sure how necessary that is. I think a big sloppy would work just fine.
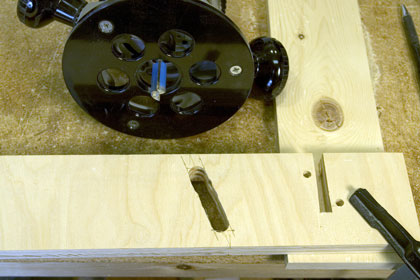
I put big fender washers under the knobs to clear the holes and spread the pressure.
That's about it. We hope you liked this project. If you build it and your friends ask where you got such a clever idea, please tell them that you got it at RunnerDuck.com.
|
|
The AllAmerican RunnerDuck Review Visit our Blog, www.runnerduckreview.wordpress.com, and sign up to receive notifications when it is updated. Our newsletter is a monthly blog with woodworking projects, crafts, recipes, and more. When you get to our blog just enter your email address and click "Sign Me Up". This is what it looks like:

|

