

For more great plans click on the banner below.
|
|
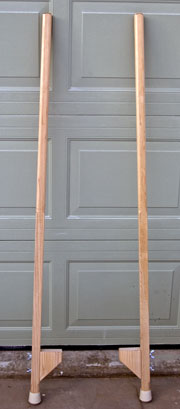
 Stilts
For Christmas this year we made some presents for our grandkids and we'd like to share them with you. This month we'll show you the stilts we made and next month the parking garage.
Here's what you'll need:
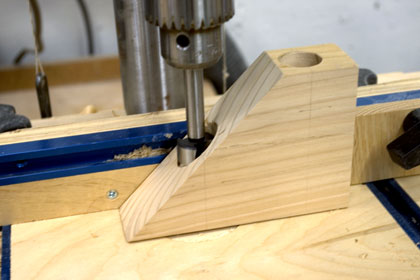
It's best to use a drill press if you have one so the holes are straight. It's difficult to get the hole started on the slope but if you hold tight and drill slow it will work.
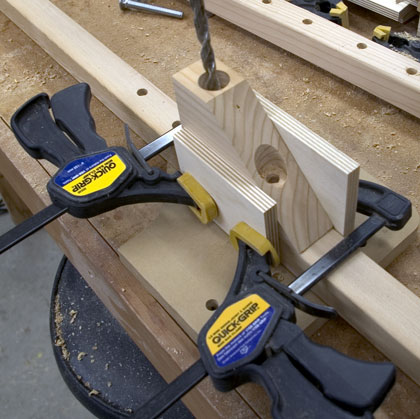
Use the previously drilled holes as a guide and drill through the 2" X 2"s. Repeat on the other stilt. You may have to remove the pads to drill all the way through the 2" X 2"s.
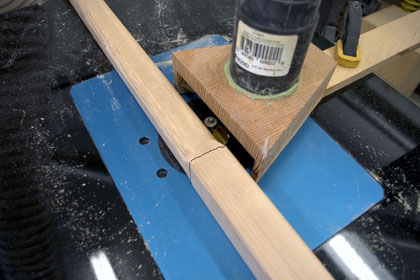 Mark all rout sides of the 2" X 2", 3" from the bottom.
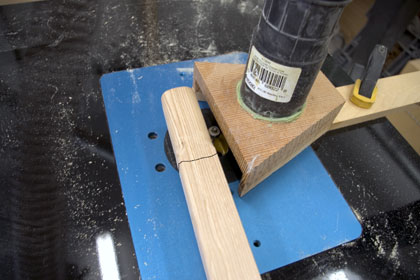
Use a 1/2" roundover router bit and round over all four sides of the handles from the bottom up to the 3" mark.
 It's best to have the kids start out at the lowest level and then over time work their way up. Since a child can fall off of these and hurt themselves I guess we need to include a disclaimer. Be sure to help your kids learn how to use these stilts and always supervise their use. We cannot be responsible for any accidents occurring from the use of these stilts. Use common sense and everyone should have fun.
 That's about it. We hope you liked this project. If you build it and your friends ask where you got such a clever idea, please tell them that you got it at RunnerDuck.com. |


|
The AllAmerican RunnerDuck Review Visit our Blog, www.runnerduckreview.wordpress.com, and sign up to receive notifications when it is updated. Our newsletter is a monthly blog with woodworking projects, crafts, recipes, and more. When you get to our blog just enter your email address and click "Sign Me Up". This is what it looks like:

|