

For more great plans click on the banner below.
|
|
This is a little different kind of project that hopefully will inspire more than instruct. I call this a Steampunk Toolbox Computer. If you are not familiar with Steampunk I'd suggest going on-line and doing a search for it. According to Wikipedia Steampunk is a sub-genre of science fiction and speculative fiction, frequently featuring elements of fantasy. The term denotes works set in an era or world where steam power is still widely used — usually the 19th century, and often Victorian era England — but with prominent elements of either science fiction or fantasy, such as fictional technological inventions like those found in the works of H. G. Wells and Jules Verne, or real technological developments like the computer occurring at an earlier date. 
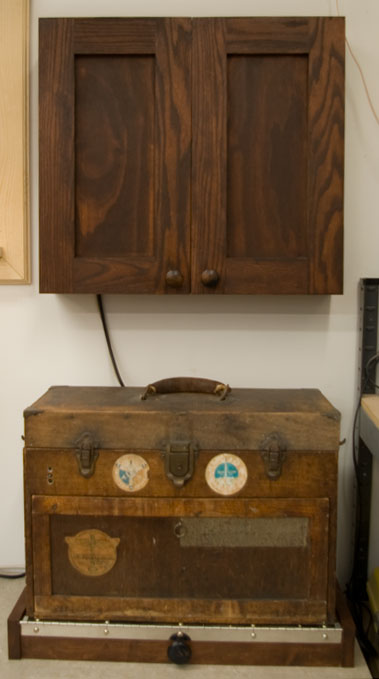
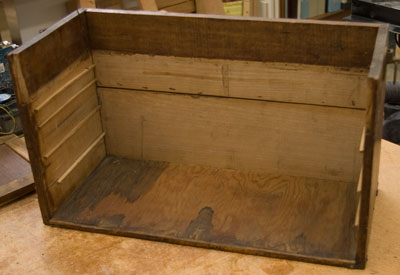
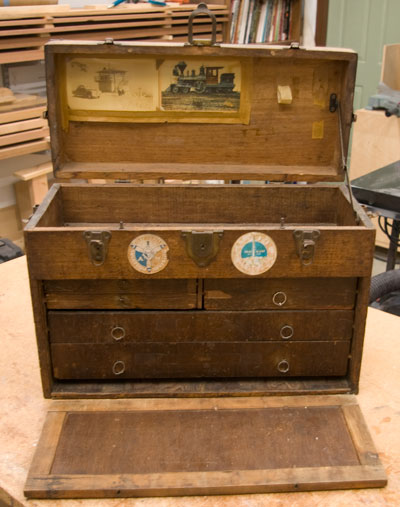
This old toolbox belonged to a model maker that worked at Boeing making model airplanes for wind tunnel testing. As best I can guess it was made by him back in the 1940's. While it looks kind of cool it was pretty tired and not worth much as a toolbox any more. I wanted to have a computer in my shop and this fir the ticket perfectly. To begin with I gutted the old toolbox.
 To mount the power supply I got the dimensions from the internet and laid them out on a piece of paper.
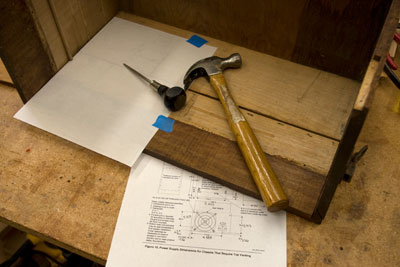
I taped that paper inside my toolbox and marked the holes to drill and the cutout for the fan.
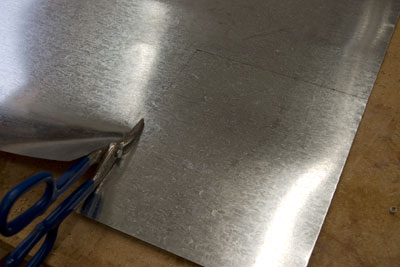
 Because the motherboard should be grounded and that happens through the standoff's on the back of the board I cut out a piece of sheet metal to mount behind the motherboard.
 I screwed the motherboard to the toolbox running the screws through standoffs and sheet metal.
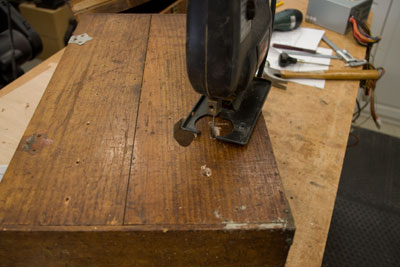
 Next I cut holes in the top shelf of the toolbox for all the connectors.
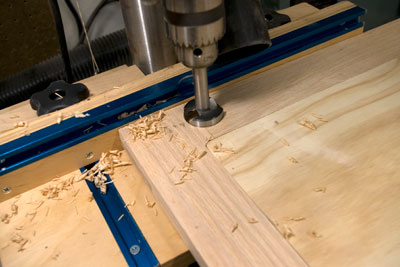
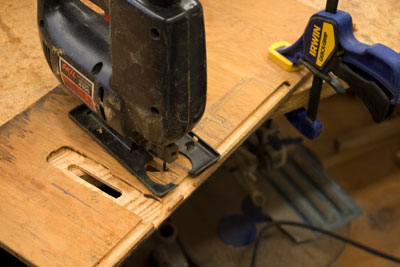 Because the plywood shelf was too thick I had to use my palm router to thin out the areas for the connectors.
 Bosch Colt™ Variable-Speed Palm Router Kit This is how the top looked.
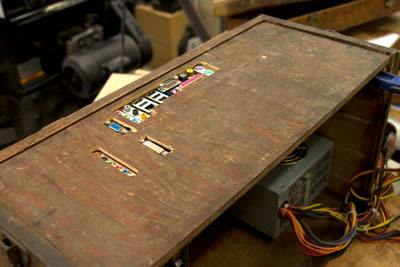
I later cut out the area for the mother board connectors and mounted the metal plate that is designed for computer cases.

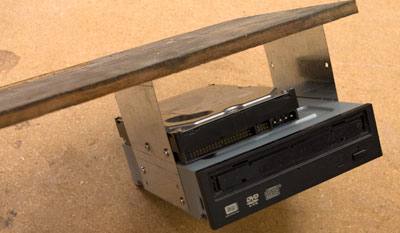
The toolbox wasn't deep enough to allow the CDR to fit properly so I had to drill out some relief in the back.
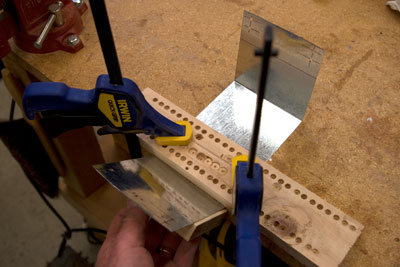
After cutting the sheet metal to size I bent it by clamping it to my workbench with a piece of wood and bent it up with another piece of wood.
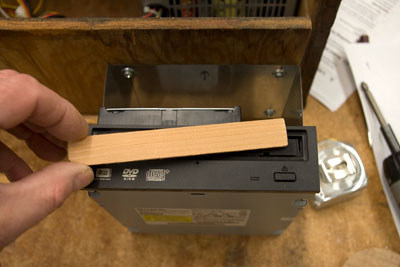
 I wanted the CDR to look and function like a drawer in the toolbox. I removed the old plastic nameplate that was on the drive and replaced it with a piece of wood as a spacer.
 I took the old drawer front and counter bored about halfway through the piece to make room for the eject button on the front of the drive.

I drilled a hole to access the eject button.
 Since the drawers would no longer fit into the toolbox I cut them down.
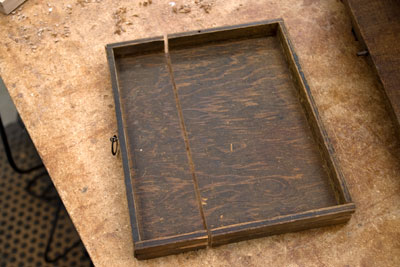 They are no longer very functional but they look cool. Here's the back and end of the toolbox.
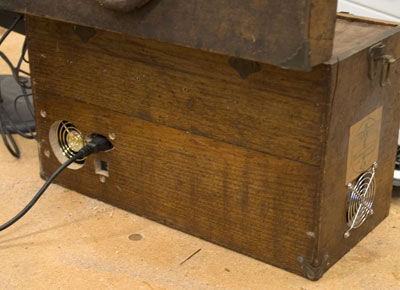
You can see the cutouts for the power supply and the hole I cut in the end for a chassis fan.

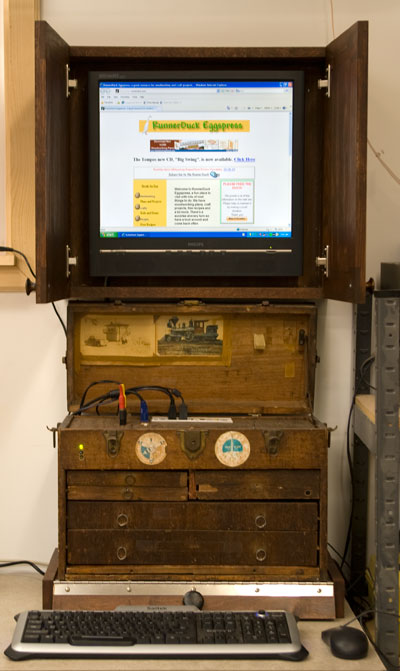
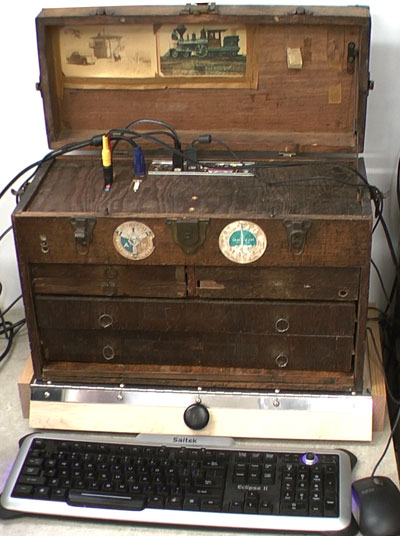
With the computer done I turned my attention to the keyboard and monitor. Since the shop environment is not good for these devices due to dust I decided to make cases for them also.

I won't go into a lot of detail about this since it was so simple.
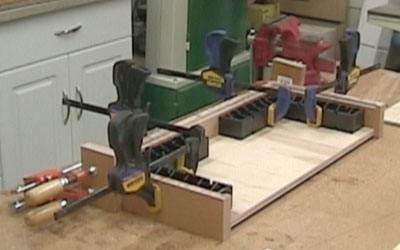 This is a picture during assembly with it upside down. I'm clamping the top, sides and back using these handy assembly squares.
 Clamp-It® Assembly Square
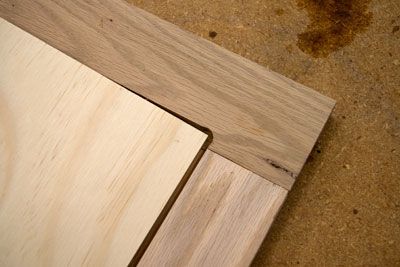
The last piece was the monitor cabinet. Again I made a simple box about 3" bigger than my monitor with two doors.
center> Before I glued and nailed it together I cut a dado along the back edge to house the back.
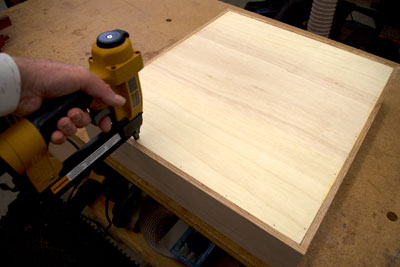
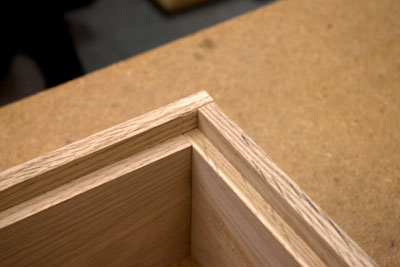 I glued and nailed the back into the dado.
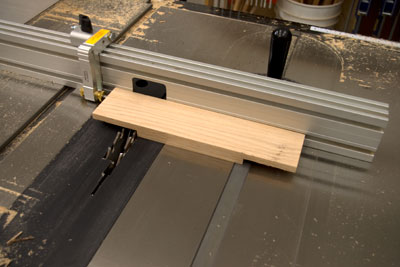
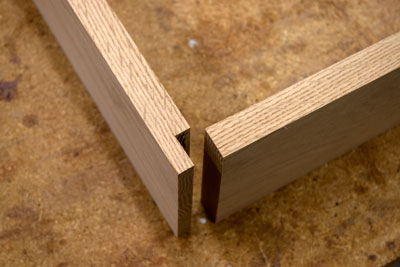
 For the doors I used lap joints and cut them on the tablesaw.
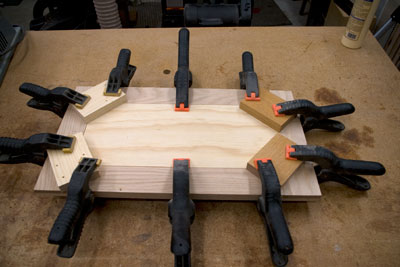
 I applied glue to the joints
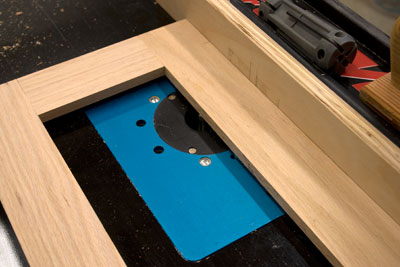
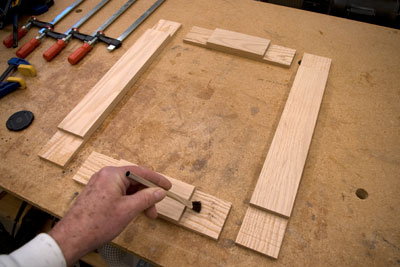 and clamped them to dry. 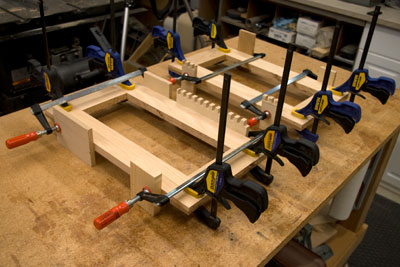 I used my router to cut out the recess for the door panels.
 The door panels were cut to size and the corners were rounded to fit.
Here the corners have not been rounded yet.
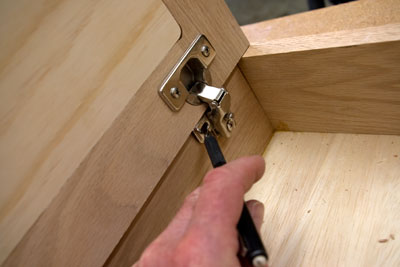
 I used European style hinges and drilled the mounting hole with a Forstner bit.
 Blum 2-Way Nickel-Plated Face Frame Hinges
After mounting the hinges in the door I aligned the door in the cabinet and marked the screw holes.
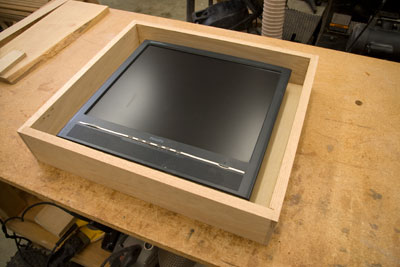
 Next I centered the monitor in the cabinet and marked the hole locations using the old base that I took off the monitor.
To add some character to my cabinet so it more closely matched my old toolbox I distressed it using an old chain.
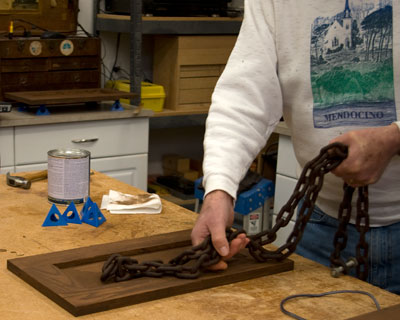 It's kind of interesting to beat the crap out of something you just spent time making nice.
That's about it. We hope you liked this project. If you build it and your friends ask where you got such a clever idea, please tell them that you got it at RunnerDuck.com. |

|
The AllAmerican RunnerDuck Review Visit our Blog, www.runnerduckreview.wordpress.com, and sign up to receive notifications when it is updated. Our newsletter is a monthly blog with woodworking projects, crafts, recipes, and more. When you get to our blog just enter your email address and click "Sign Me Up". This is what it looks like:

|