

|
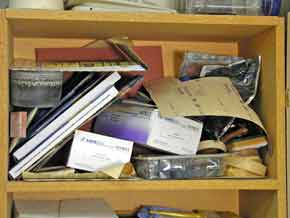 As you can see in the picture above I had a real problem with storing my sandpaper. I would just pile it up in the cabinet and every time I wanted a particular grit I would dig through the pile. I finally got tired of this and did something about it. I designed and made this handy little storage box. There is now a place for each different grit as well as storage for different shapes of sandpaper and sanding belts. Here's a picture of my solution.
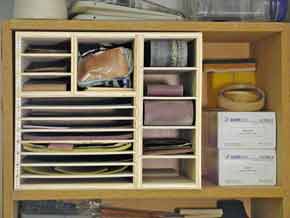 Here's a list of materials you'll need to buy.
3/16" X 4' X 4' plywood Cut out the following pieces:
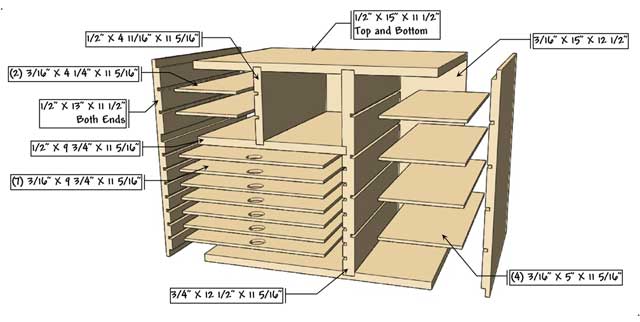 Click on the picture for a printable version. Next you will need to cut a bunch of dado's for everything to go together. Cut the dado's for the shelves 3/16" X 1/4" deep. Make all dado's 1/4" deep. Here are the interior dimensions of the cabinet.

For the corners of the box I rabbeted the corners 1/4" X 1/4".
 Next I used a 3/4" forsterner bit and drilled part way through each piece.

Flip each piece over and finish drilling from the other side.
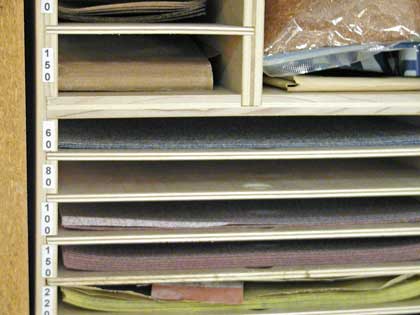 When you are done your sandpaper storage cabinet should look something like this.
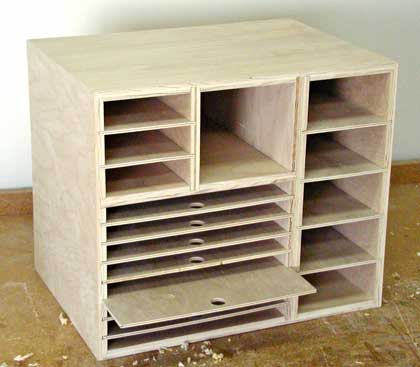 We hope you liked this project. If you build it and your friends ask where you got such a clever idea, please tell them that you got it at RunnerDuck.com.
|
|
The AllAmerican RunnerDuck Review Visit our Blog, www.runnerduckreview.wordpress.com, and sign up to receive notifications when it is updated. Our newsletter is a monthly blog with woodworking projects, crafts, recipes, and more. When you get to our blog just enter your email address and click "Sign Me Up". This is what it looks like:

|