

For more great plans just click on the banner below.
|
|
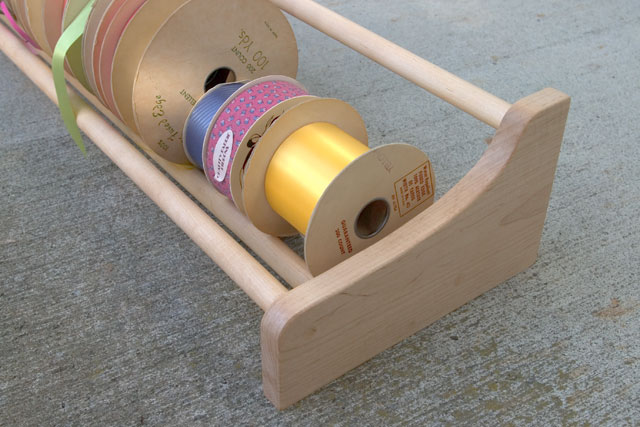
 This is another one of those concept projects that you will need to adjust to fit your needs. I actually made this project for my day job to hold rolls of labels that go on a printer. We found that it works great for storing rolls of ribbon and would also work good for storing rolls of tape. This roll storage is 3' long and can handle a roll from 3" up to 10" in diameter. Here's what you'll need:
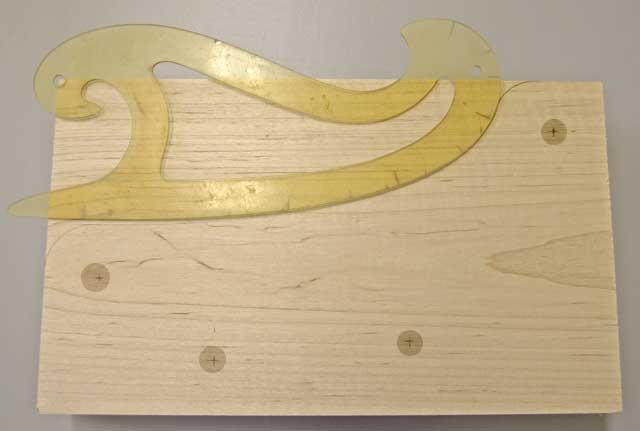
Now place your smallest roll so the diameter of that it will not fall through your rails and mark those two points. This is where your holes for the rails will go.
 Sand them together on a belt sander to remove any band saw marks. They should now look like this.
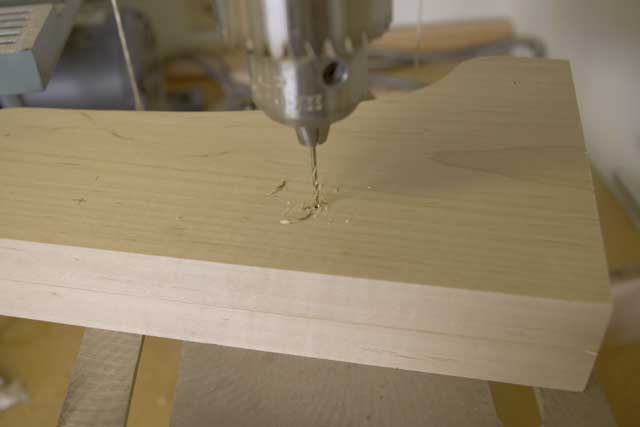
 Next drill a small 1/8" pilot hole through both pieces.
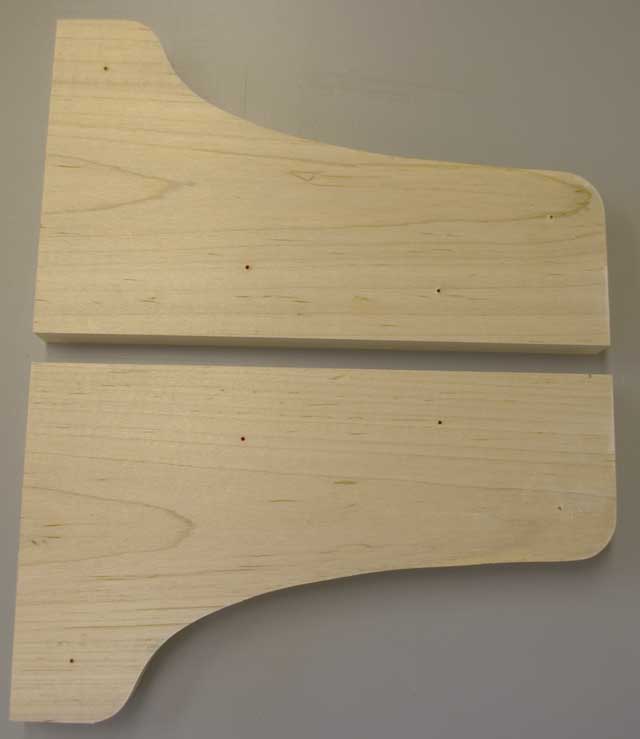
 Separate the two pieces which will look like this.
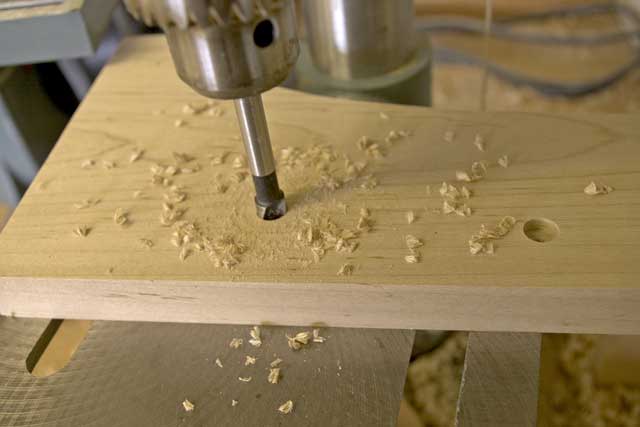
 Countersink 3/4" holes 1/4" deep on the inside of each piece.
 Countersink 3/8" holes 3/8" deep on the outside of each piece.
Make plugs for the holes using a tapered plug cutter.

Cut the dowels to the desired length. I used 36" for my rack.
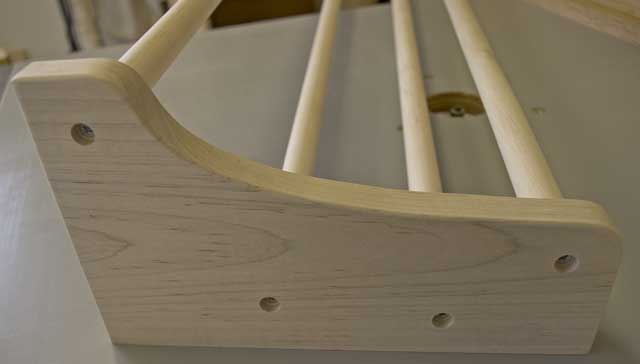
Glue the tapered plugs and tap them into the screw holes.
Sand smooth and apply your finish.
 We hope you liked this project. If you build it and your friends ask where you got such a clever idea, please tell them that you got it at RunnerDuck.com.
|
 Click
Click Click
Click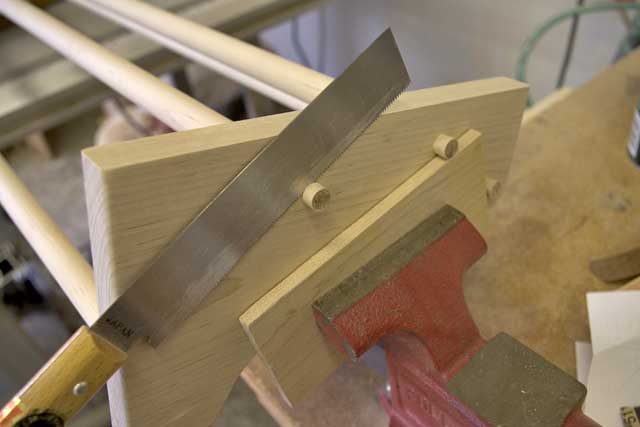
|
The AllAmerican RunnerDuck Review Visit our Blog, www.runnerduckreview.wordpress.com, and sign up to receive notifications when it is updated. Our newsletter is a monthly blog with woodworking projects, crafts, recipes, and more. When you get to our blog just enter your email address and click "Sign Me Up". This is what it looks like:

|