
|

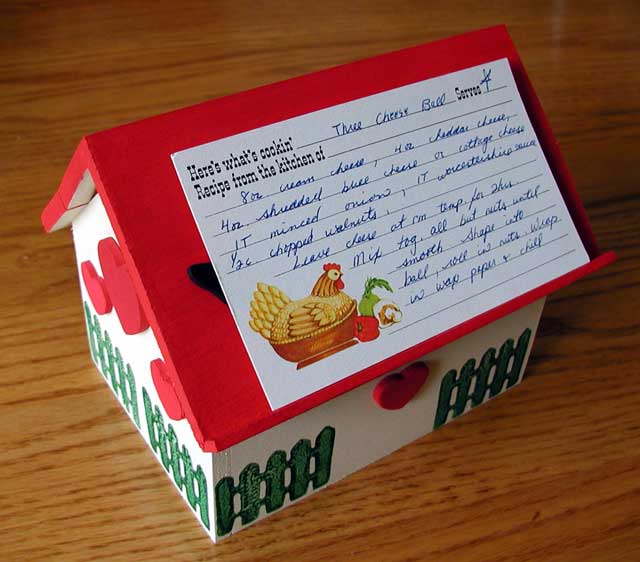
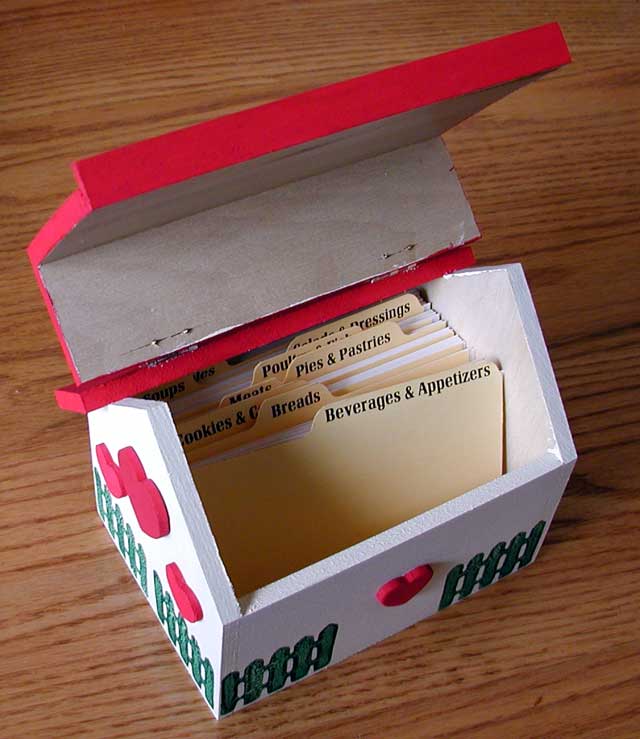
 This is a neat little weekend project that makes a nice gift or just a good place to store your own recipes. We used Poplar for our project and I'm not sure it was such a good idea. I has a real tendency to warp. If you are going to paint your recipe box then plywood might just be better.
Here's what you'll need:
 (Click)
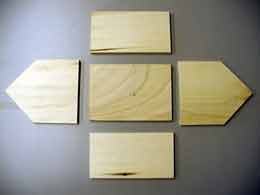
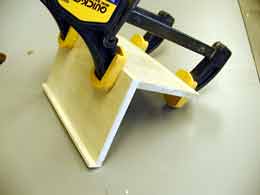
Cut the front and back, 5 1/16" X 2 3/4".  Glue and nail all the pieces together.  Cut the front of the roof 6 1/4" X 3 1/2". Cut the card lip 1/2" X 6 1/4" X 1/8". Make this from a scrap piece of 1/2" think wood. Glue the card lip to the front roof.  Cut the back roof pieces, 6 1/4" X 1 3/4" and 6 1/4" X 1 1/2". Glue and clamp the 1 3/4" roof piece to the front piece.  Butt the two back roof pieces and install the hinges. Glue and clamp the lower back roof to the sides.  Sand and paint to give it character and charm. Now go out and fill it up with all those great recipes you've had laying around. We hope you've enjoyed this project and have good success with it. Remember, if you ever have any problems with our projects just drop us a line and we'll try to help. Since we build every one of these projects we have a pretty good idea of how to get through them. We also make lots of mistakes so we can help avoid them. |
|
The AllAmerican RunnerDuck Review Visit our Blog, www.runnerduckreview.wordpress.com, and sign up to receive notifications when it is updated. Our newsletter is a monthly blog with woodworking projects, crafts, recipes, and more. When you get to our blog just enter your email address and click "Sign Me Up". This is what it looks like:

|