
For more great plans click on the banner below.
|
|
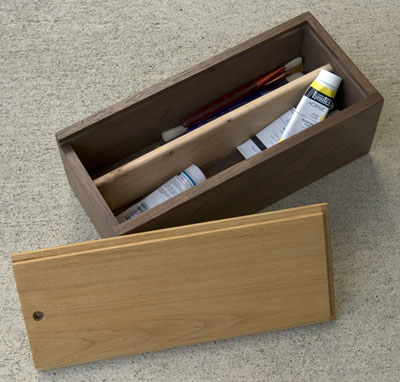
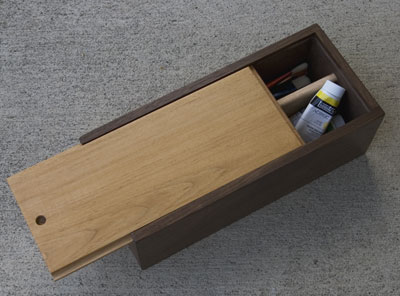
Our grandson, Hudson, celebrated his third birthday this month and the theme was "Party Like Curious George with Paint". While he's a little young for this gift we figure it's something he'll have for many years. Who knows, one day he may even become a famous painter! It's a box to store all his paint brushes and some paint. I actually had this idea and decided to build it out of scrap wood so there are three different kinds of wood, walnut, oak and maple. I think it gave it an interesting look. Here's what I used:
Cut the sides 5" X 14". I made dove tails for the corners using my handy dandy Rockler dove tail jig.
Be sure to set up your jig using scrap pieces and fine tune it until you have a prefect fit.

Remember on the short end you will come up with one less dove tail at the top.
Once you cut the dove tails route the grooves for the bottom, ends and the lid. I used a 1/4" router bit set 1/4" deep. 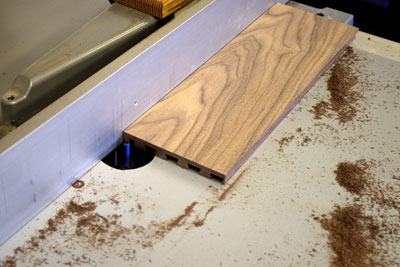
For the bottom I set the fence so that the top edge of the groove would be just slightly above 1/2". Be sure to start and stop before the ends of each piece otherwise the groove will show on the ends.
 I set the blade to 1/4" high and the fence 1/4" away from the blade. I like to use my height gage on my square to set the blade.
Only dado the two sides and one end of the top.
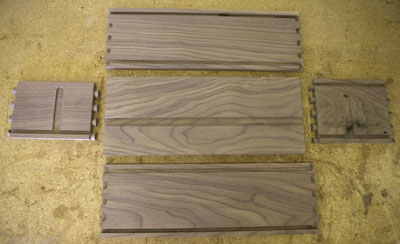
Here are the box pieces laid out.
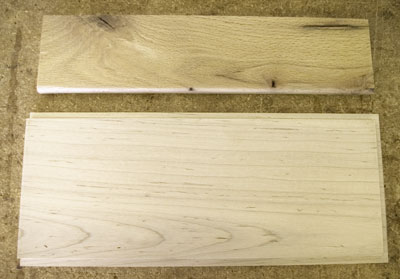
Sand the insides of all the pieces really good.
 Sand the outside and apply your finish of choice. I prefer to use the water based stains and urethane's that are available today. What I like best about them is the clean up!
That's about it. We hope you liked this project. If you build it and your friends ask where you got such a clever idea, please tell them that you got it at RunnerDuck.com.
|
|
The AllAmerican RunnerDuck Review Visit our Blog, www.runnerduckreview.wordpress.com, and sign up to receive notifications when it is updated. Our newsletter is a monthly blog with woodworking projects, crafts, recipes, and more. When you get to our blog just enter your email address and click "Sign Me Up". This is what it looks like:

|
