
|
For Valentine's Day or any special occasion this really nice heart shaped picture frame. It's fairly simple to make and is a very nice gift. You may want to make several.
 Here's what you'll need;
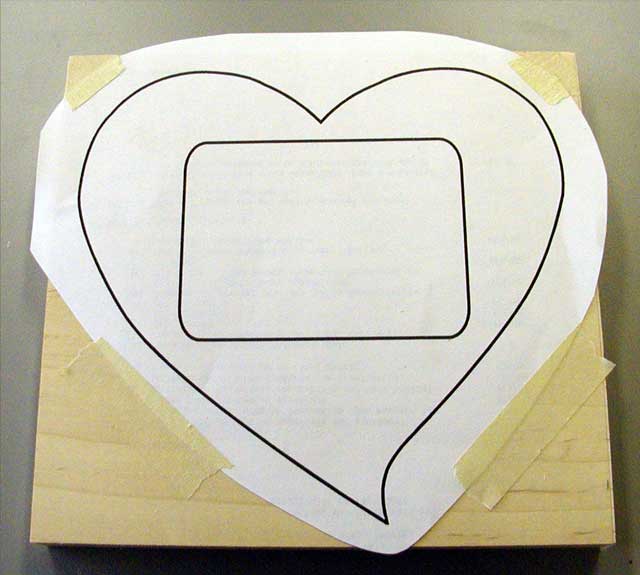
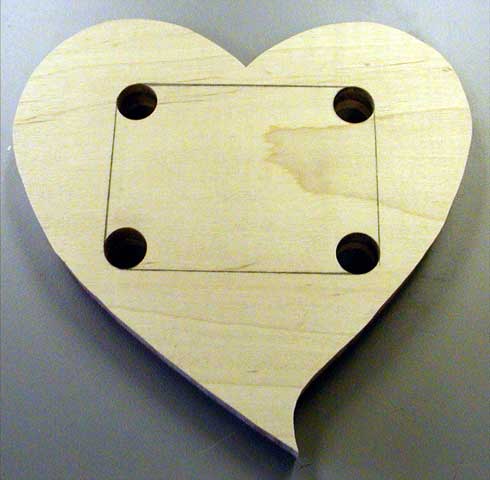
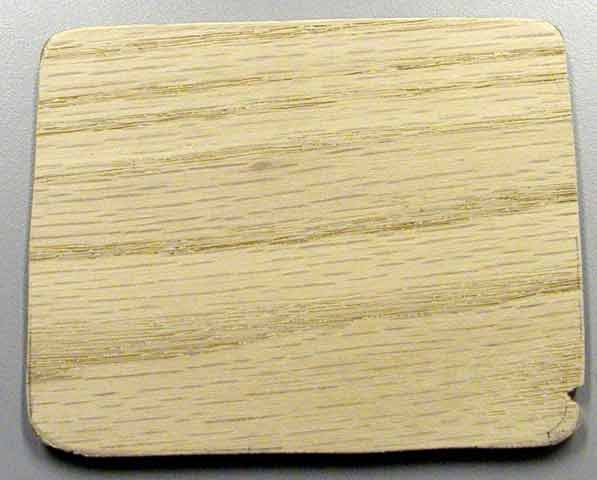
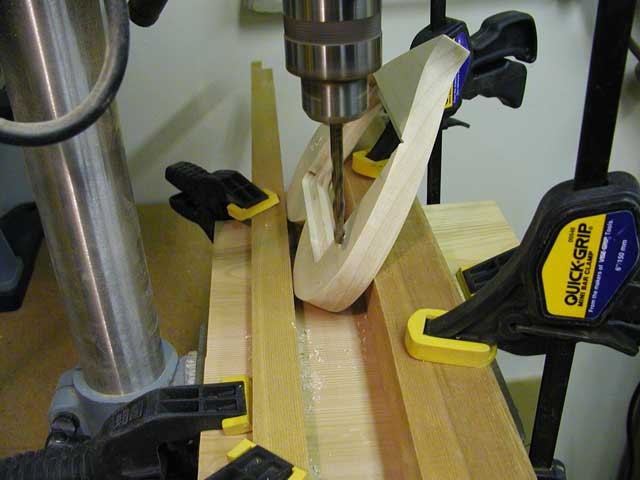
 Sand the edges smooth. Drill a 5/8" diameter hole in each corner using a Forstner drill bit.  Using a scroll saw or coping saw, cut out between the drilled holes. Try to get as close to the tangent point of each side of the hole as possible. This will save a lot of hand work later (speaking from experience :-). Sand the edges of the cutout until they are smooth and blend into the holes. A fine wood rasp works pretty good for this. Using a 1/2" diameter square router bit route a hole 1/2" deep, 1/4" wider than the cutout, on the back of the frame. Be careful not to break out of the frame edge (again speaking from experience :-o) Using a 1/2" round router bit, radius the edges of the cutout. Lay your frame down on the 1/4" piece of plywood and trace the routed feature of the cutout from the front. This is to make a backing for your photograph. You'll have to reach in with your pencil to strike a line. Cut out the 1/4" plywood following the line.  Set up your drill press to drill about a 30 degree hole in the back of the frame for the support legs. Here's a picture of the simple set up we used.  Cut the 1/4" dowel into two 4 1/2" pieces. You will have to adjust this to make your frame sit level and at a good angle. Insert the dowels into the holes and mark them as required to level the frame. Do not glue the dowels into the frame. You may want to use the frame on the wall someday and this will make it easier to remove the dowels. Sand, stain and finish your frame. We used watered down red acrylic paint mixed with brown acrylic stain for our color. You can add glass to the frame and after you put your picture in you can tack the back in with brads. We hope whoever gets this gift will enjoy it as much as you enjoyed making it for them. |
|
The AllAmerican RunnerDuck Review Visit our Blog, www.runnerduckreview.wordpress.com, and sign up to receive notifications when it is updated. Our newsletter is a monthly blog with woodworking projects, crafts, recipes, and more. When you get to our blog just enter your email address and click "Sign Me Up". This is what it looks like:

|