

|
 Here's what you'll need;
Using the pattern from our web site, www.runnerduck.com/images/fc_patterns.htm, lay out the handles. The pattern is in three parts so that it will print on your printer. Print all three patterns and splice the first two together. Trace the pattern onto the 2" X 4"s. Using a saber saw cut out the handle shapes.  Sand them smooth before you radius the edges. I used my belt sander. Route the edges to the marks from the patterns using a 1/2" round over bit.  Using 180 grit sandpaper, sand the handles smooth.  Cut out the front of the handles using your saber saw and following the pattern. Carefully align the fronts of the handles and mark the positions for the cross members. 5" back from the front and then 24" in between the cross members. 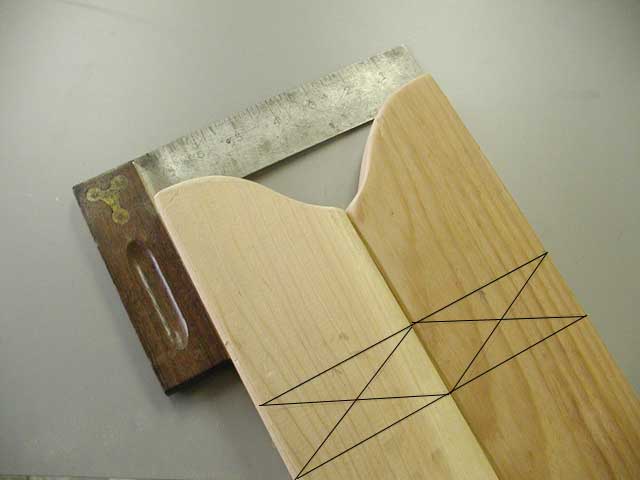 Cut the two cross members 21" from the 2" X 4"s. Pilot drill and countersink two holes for each board end. Mount the cross members using two 2 1/2" #10 deck screws. 
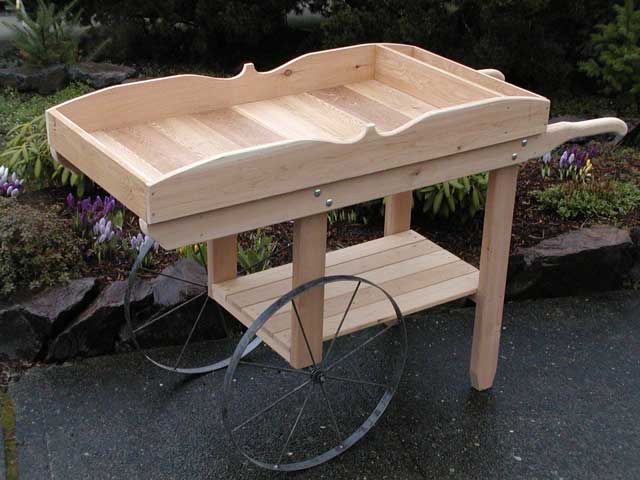
ut 2 leg spreaders 2" X 4" X 18".  Mount the legs to the handles 17" from the handle ends. Drill two holes while clamping the leg to the handle. 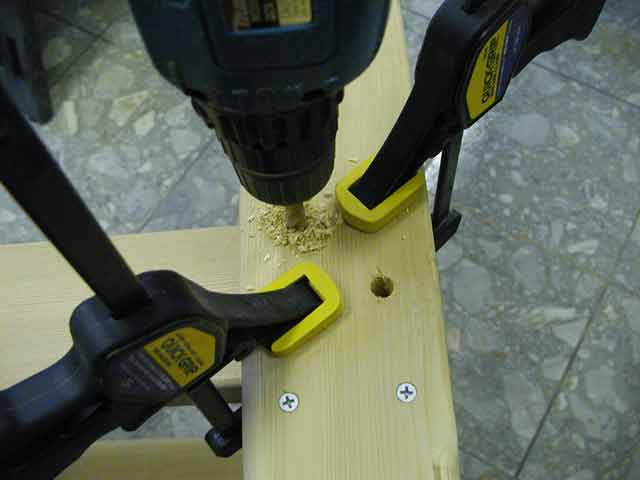 Bolt the legs onto the handles using the 3 1/2" carriage bolts. Repeat this process for the axel legs placing them 24 inches away from the legs. Mount the axels for the wheels to the bottom of the axel leg spreader. Drill a countersink hole on top for each hole so the head of the screw and washer will sit flush with the top of the spreader.  Mount the axels using (4) 2 1/2" 1/4-20 bolts, washers and nuts. 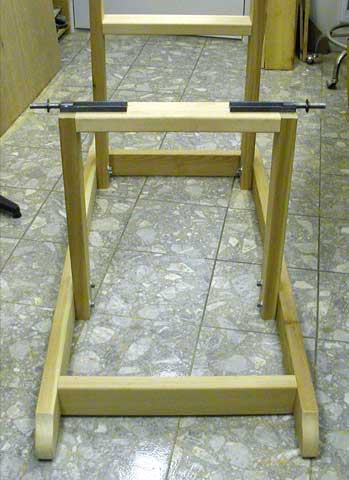 Grease the axels and install the wheels. Cut (5) 1" X 4"s 31 1/4" long for the bottom. Drill and countersink pilot holes for mounting the bottom boards to the spreaders. Space them evenly across the distance. 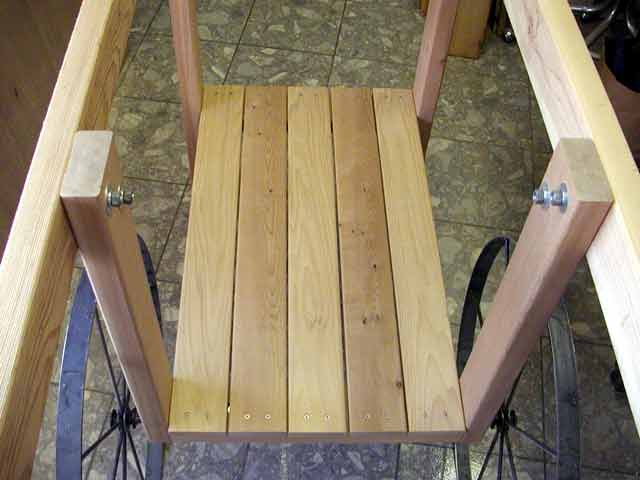 Cut (9) 1" X 6"s 24" long for the top. Drill and countersink pilot holes for mounting the top boards. Start 3/4" from the front and but each piece together. Cut (2) 1" X 6"'s 51" long. Cut (3) 1" X 6"'s 24" long. Using the 2 patterns at 1. www.runnerduck.com/fc-side-pattern.gif and 2. www.runnerduck.com/fc-side-pattern-mirror.gif, lay out the lines for cutting the pattern. Notice that there is a mirrored pattern. These go out from the middle of each side. Clamp the two 51" pieces together and cut them out together using a jig saw. Round over the edges using a 3/8" router bit. Cut two of the 24" pieces 4 3/16" wide with a 15 degree bevel these will be the front and back. Cut the third 24" piece 4 1/2" wide with a 5 degree bevel. Mount the front and back ends inside the sides. Mount the 4 1/2" piece 6 1/4" from the back. This will make a tool tray for you. That pretty much does it. Just add some finish and go sell some flowers. We hope you've enjoyed this project. If you are proud of your work please send us a picture that we might share with the rest of our readers. |
|
The AllAmerican RunnerDuck Review Visit our Blog, www.runnerduckreview.wordpress.com, and sign up to receive notifications when it is updated. Our newsletter is a monthly blog with woodworking projects, crafts, recipes, and more. When you get to our blog just enter your email address and click "Sign Me Up". This is what it looks like:

|