

|
Here's a fun little one-day project that will make your summer dining table look extra special.
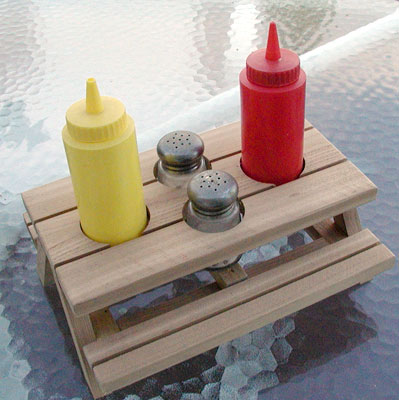
For this project I used some 3/4" X 6" cedar fencing scraps.
Drill (2) 2 1/8" diameter holes centered 2 1/4" in from each end.  Set your table saw so the blade will cut an 3/16" deep groove. On the tabletop cut a groove 1 1/2" in from each side. Turn the wood on each end to "wrap" the cut. It gives it the look of separate pieces of wood. Do the same thing for the benches but cut the groove down the middle. Glue and nail the bottom frame together as shown below. 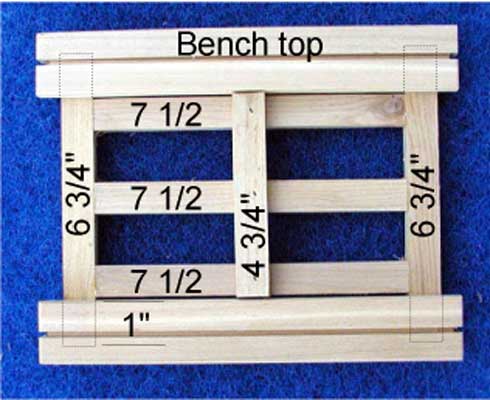 Glue and nail the leg braces to the table. Use a leg to space them in from the table ends. Glue and nail THREE of the legs to the braces. Place them with a 1/4" space between them. Position the base 1" from the bottom of the legs, glue and nail in place. NOW install the last leg. If you didn't do this you will not get the base into place! 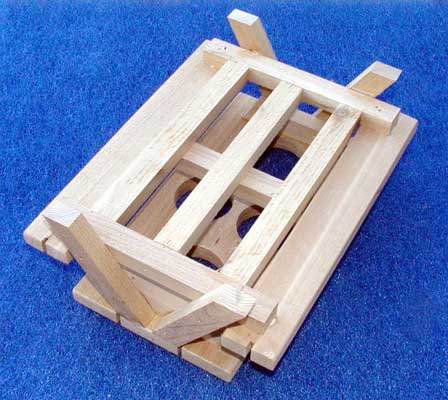 You can stain your project or leave it natural like we did. Now all you have to do is put your condiments into it and put it on the table. |
|
The AllAmerican RunnerDuck Review Visit our Blog, www.runnerduckreview.wordpress.com, and sign up to receive notifications when it is updated. Our newsletter is a monthly blog with woodworking projects, crafts, recipes, and more. When you get to our blog just enter your email address and click "Sign Me Up". This is what it looks like:

|